Under normal circumstances, the measurement can be divided into two types: one is the cross-section size, space intersections and cylinders, cones and other objects, suitable for contact detection measurements, the main use of traditional contact-type coordinate measuring machine to complete; One type is based on a large number of small holes or grooves, or on flexible or fragile workpieces such as circuit boards and films. It is suitable for non-contact detection tasks. It mainly uses image display optics such as Wangongxian and projectors. Instrument to complete. In recent years, with the development of high-tech such as CCD camera measurement, computer image processing, computer programmable control optical illumination, and laser scanning measurement, the non-contact coordinate measuring machine has been applied to solve the second type of measurement problems. The high efficiency is comparable to that of the contact measuring machine in solving the first type of measurement problem, and also enables the non-contact measurement to be developed from the original two-dimensional measurement to a three-dimensional measurement technology. With such conditions, it is natural to combine the non-contact and contact detection processes to form the idea of ​​an optical mechanical measurement center that can solve both types of measurement problems. This concept has been implemented on the UCMS compound coordinate measuring machine UCMS from Xi'an Edwards Measurement Equipment Co., Ltd.
1. Composite probe calibration
The coordinate measuring machine must first carry out the calibration of the probe between the measurements. For the composite measuring machine, the basic concept of calibration is the same, but the calibration includes two types of probes - contact and non-contact. The contact probe is calibrated by measuring a standard ball of known diameter to determine the ball diameter of each stylus and the relative position of the center of each probe; calibration of the non-contact probe is used. This is achieved by measuring the standard aperture plate, which is determined by the equivalent value of the unit pixel. The calibration of the probe on the compound measuring machine also includes the determination of the positional relationship between the contact probe and the non-contact probe. The determination of the position is that the non-contact probe is first calibrated and referenced, and then the contact probe is calibrated, and the relative position can be determined.
2. Composite detection
The meaning of the composite detection is to use both contact and non-contact probes to collect measurement points in the measurement of the same workpiece. During the measurement process, the two probes can be switched as needed, and can even be used in the same measured element. The probe collects measurement points. Of course, the precondition for this is that the software operating system of the measuring machine can provide support in this respect. Edward's AUTOMET software provides contact measurement, non-contact measurement and compound measurement functions. No matter whether it is contact or non-contact measurement data acquisition, it can be directly operated. All measurement and calculation functions can be performed. Learning programming and can be performed automatically.
The detection method of contact probes is already familiar, and the introduction of non-contact probe detection methods is relatively rare. The non-contact measurement functions in AUTOMET software include manual targeting and automatic targeting. When aiming manually, the method of moving the workpiece to align the image with the aiming mark or the method of moving the aiming mark with the mouse to align the image of the workpiece can be adopted. The automatic aiming method is various and can adapt to different measurement requirements. These methods include maximum/minimum scans, X/Y direction distances, dark/bright center-of-mass coordinates, auto circle, edge increments/line increments/incremental circle measurements, and so on. As long as the operator sets the position and size of the measurement window and specifies the scanning direction, the software system can automatically search within the measurement window to find out all the points for corresponding calculation or processing, such as best fitting, filtering, etc. The required point coordinates, circle diameter, distance and other measurement data. The autofocus function (including auto focus on the edges and auto focus on the surface) can achieve much higher repeatability than manual focusing to determine the coordinates perpendicular to the projection surface, enabling 3D measurements. In order to obtain good image quality, the non-contact measuring machine's lighting system (including transmitted light illumination, reflected light illumination, and metering illumination) is programmable by the computer. Each group of light sources can be turned on, off, and light and dark. Into the measurement program, and controlled by the program execution. At the same time, for different edge conditions of the image, appropriate values ​​can be set to change the depth of the pressure line during automatic tracing. With these measures as a safeguard, measurements are highly accurate. UCMS and AUTOMET software meet all these requirements.
3. Application of composite measurement methods
Due to the multi-probe compound coordinate measuring machine, the contact probe and the non-contact probe are combined into a unified organism on the same machine, and a laser scanning probe can also be integrated in the non-contact probe. It can be switched at any time, thus exhibiting a high degree of flexibility and further expanding the scope of application of the coordinate measuring machine. In addition to measuring components such as housings, shafts, gears, cams, blades, spirals, spaces, curves, and curved surfaces in traditional machinery manufacturing, it is also possible to measure circuit boards, films, and electronics in industries such as electronics, optics, watches, and molds. Patterns, holes, slits, movements and other parts or elements. It can be predicted that this type of probe complex measuring machine has broad prospects for development.
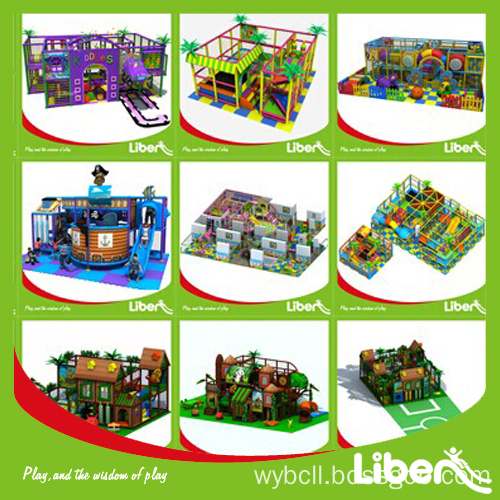
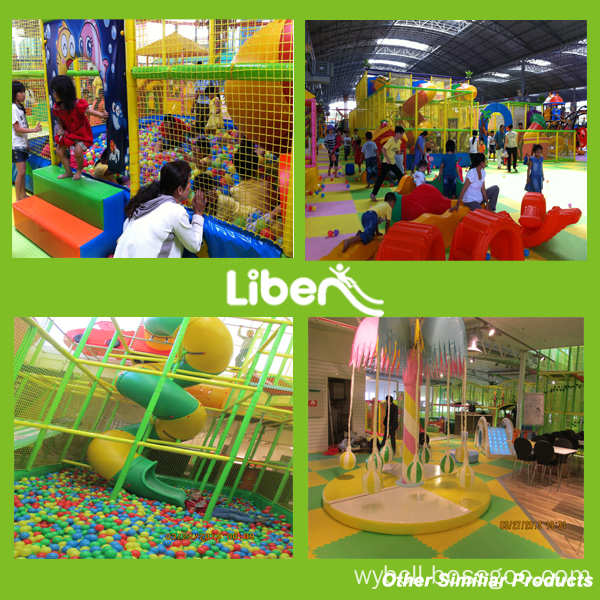
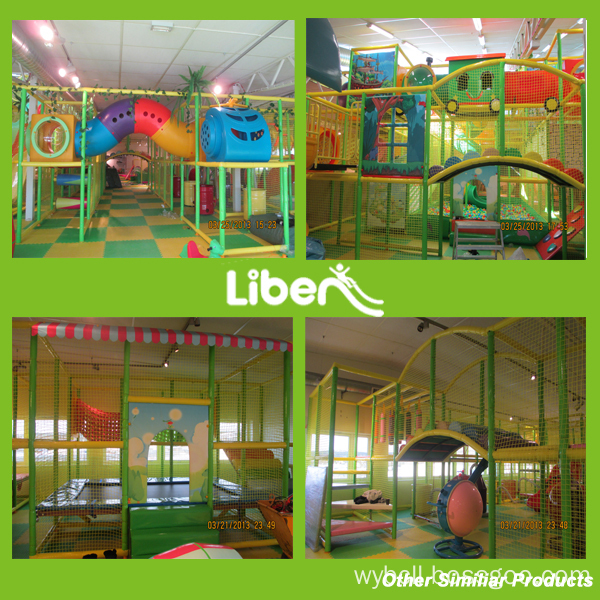
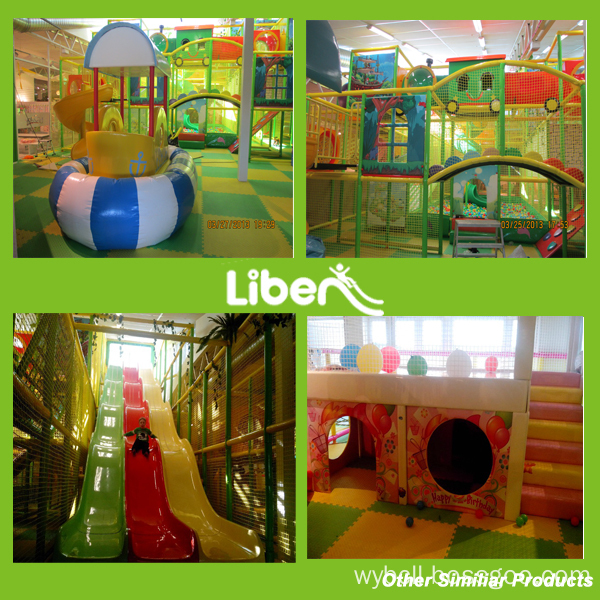
| Measurements (m) | can be customized |
| Certificate |
ISO14001, ISO18000, ISO9001 Certificate,
and GS certificate from TUV Company of Germany.
|
| Color | Various, according to your requirements |
| Materials |
A. Plastic parts: Imported LLDPE E. Outer cover: Soft Covering PVC
(Different material is available according to your needs)
|
| Advantage |
a.Anti-UV
b.Anti-static
c.Security
d.Environmental protection e.Uneasy to lose shape |
| Function |
1.Can protect children safe when they playing indoor, and let they enjoy the play freely 2.Suitable for improving Children energy and imagination 3.Helping them grow up happily, cleverly, and healthily |
| Installation | Professional CAD instruction, assembly procedure and project case . |
| Age Range | Children |
| Apply to | Amusement park, gymnasium, Kindergarten, Preschool, etc. |
| Packing | Standard export packing |
| Remark |
We can design and produce as your requirements |


Children Furniture, Children Room Furniture, Children Furniture Sets, Kids Toy Storage
Liben Group Corporation , https://www.indoortrampoline.de